(Also known as English Holly)
Ilex aquifolium
Family: Aquifoliaceae
Type of weed: Woody weed
Flower colour(s): White
Priority Weed Local Priority Weed. (See more weeds of the Local Priority Weed class.)
Flowering Months: January, February, October, November, December
Description
An evergreen large shrub or tree.
Leaves are dark green, glossy and very spiky.
Flowers are small, whitish, inconspicuous and sweetly scented. They appear late spring to summer.
Bunches of bright red berries appear in winter.
Don’t confuse with…
If there are no flowers or berries, Holly can be confused with two native plants:
- Native Holly (Podolobium ilicifolium)
- Silky Daisy Bush (Olearia myrsinoides)
Dispersal
Dispersed by birds and in dumped garden waste. Holly also spreads by suckering and layering.
Impact on bushland
Holly forms dense stands, displaces native plants and changes the environment in which it grows. The deep shade is unsuitable for native plants to germinate. This results in loss of ground layer.
Distribution
Alternative planting
Native plants
Bird attracting natives, screening shrubs and small trees such as:
- Heath Banksia (Banksia ericifolia)
- Grevillea spp
- Hakea dactyloides
- Callistemon spp
- Acacia spp
- Leptospermum spp
- Blueberry Ash (Elaeocarpus reticulatus)
Council provides a tool, on its Mountain Landscapes website, to help you choose native alternative plantings. Choose your village, soil, vegetation community and the purpose of your planting, and the tool will give you suggestions.
There are native nurseries in several Blue Mountains villages, including Glenbrook, Lawson and Katoomba. Please also ask at your favourite local nursery.
Control
- Hand remove
- Dig out tap root
- Remove flowers, fruit, pods or seeds
- Stem inject or frill
- Cut and paint
Manual control
Hand remove
Grasp stem at ground level. Rock weed backwards and forwards to loosen roots, then pull out gently. Carefully tap the roots to dislodge attached soil. Replace disturbed soil and pat down.
Considerations
- Leave weeds so that roots do not make contact with soil; on a rock, for instance. A small amount of debris may be hung in a tree or removed from the site.
- Vary the position of your body to avoid fatigue when removing plants by hand over extended periods.
Hand removal of plants with a tap root

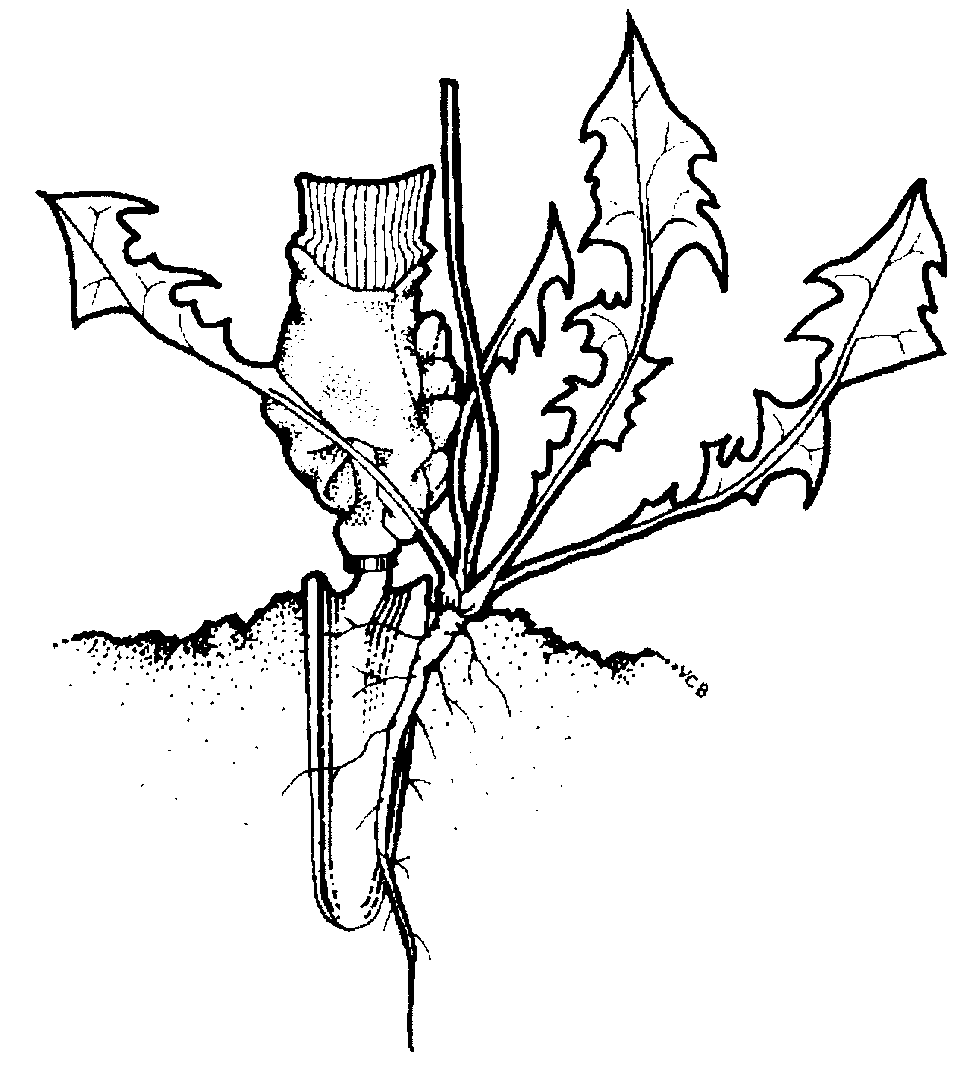
Push a narrow trowel or knife into the ground next to the tap root. Carefully loosen soil. Repeat this step around the tap root. Grasp stem at ground level, rock plant backwards and forwards and pull gently. Tap roots carefully to dislodge soil. Replace disturbed soil and pat down lightly.
Remove seeds, pods or fruit
Gently remove any seeds, pods or fruit and carefully place in a bag.
Chemical control
Note: Herbicides that may be used for this weed include Glyphosate.
Stem injection or frilling
Stem injection

At the base of the tree, drill holes at a 45° angle into the sapwood (just under the outer bark) at two finger space intervals around the entire base of the tree. Repeat this process below the lowest branch
Frilling
As an alternative to drilling, make cuts into the sapwood with a chisel or axe. Fill each cut/hole with herbicide immediately. Repeat the process at 3 cm intervals around the tree.
Considerations
Plants should be healthy and actively growing. Deciduous plants should be treated in spring and autumn when leaves are fully formed. For multi-stemmed plants, inject or chip below the lowest branch or treat each stem individually. Herbicide must be injected immediately before the plant cells close (within 30 seconds before translocation of herbicide ceases.)
Cut and paint

Useful for small to medium sized woody weeds up to 10 cm in diameter.
Make a horizontal cut as close to the ground as possible with secateurs or loppers, and immediately apply concentrated Glyphosate to the exposed stump surface. Do not allow the surface to get covered with soil.
Specific control tips for this weed
Berries are bird spread. Treat plants before they fruit. Cutting the plant without poisoning will not work because it suckers and coppices (grows multiple shoots from the stem once cut). Leaving fragments of root or stem can also allow the plant to regrow.
- Small seedlings: dig up if you can remove all the roots.
- Juvenile plants: scrape and paint, making sure that you scrape at least 1/3 of the length of the stem; on larger plants, scrape two sides. Apply herbicide carefully using an applicator bottle immediately on the scraped area.
- Large plants: (any plant with a stem diameter of 40 mm or more at the base). Stem inject trunks; for plants taller than 2.5 m, either lop off the top half or inject a second ring about half way up. Exposed roots can also be scraped and painted or injected. Check for layering branches: these can be cut and each ‘touch down’ treated as a seperate juvenile plant.
- Alternatively, remove lower branches of larger plants to 1–2 m from the ground and then stem inject herbicide up to the pruned level.
Use a full strength herbicide with these techniques.
Cut branches or stems may be spread out to dry off the ground. When dead, this material will decompose in place, or may be composted.
For key points on these techniques:
Local Priority Weed
Control measures:
- The plant should be fully and continuously suppressed and destroyed.
- Plants under 4 metres in height should be fully and continuously suppressed and destroyed.
- The spread of this plant should be adequately contained to prevent spread impacting on priority assets. Weed notices will only be issued for these weeds under special circumstances.


